
Navigation Intro
Course Home Page
Welcome to your course. This section provides important information about navigating your course. Please read through this information before moving on to the course content.
A course site (Figure 1) has three main areas (Figures 2-4). Click on the links for a description and preview of each of these areas:
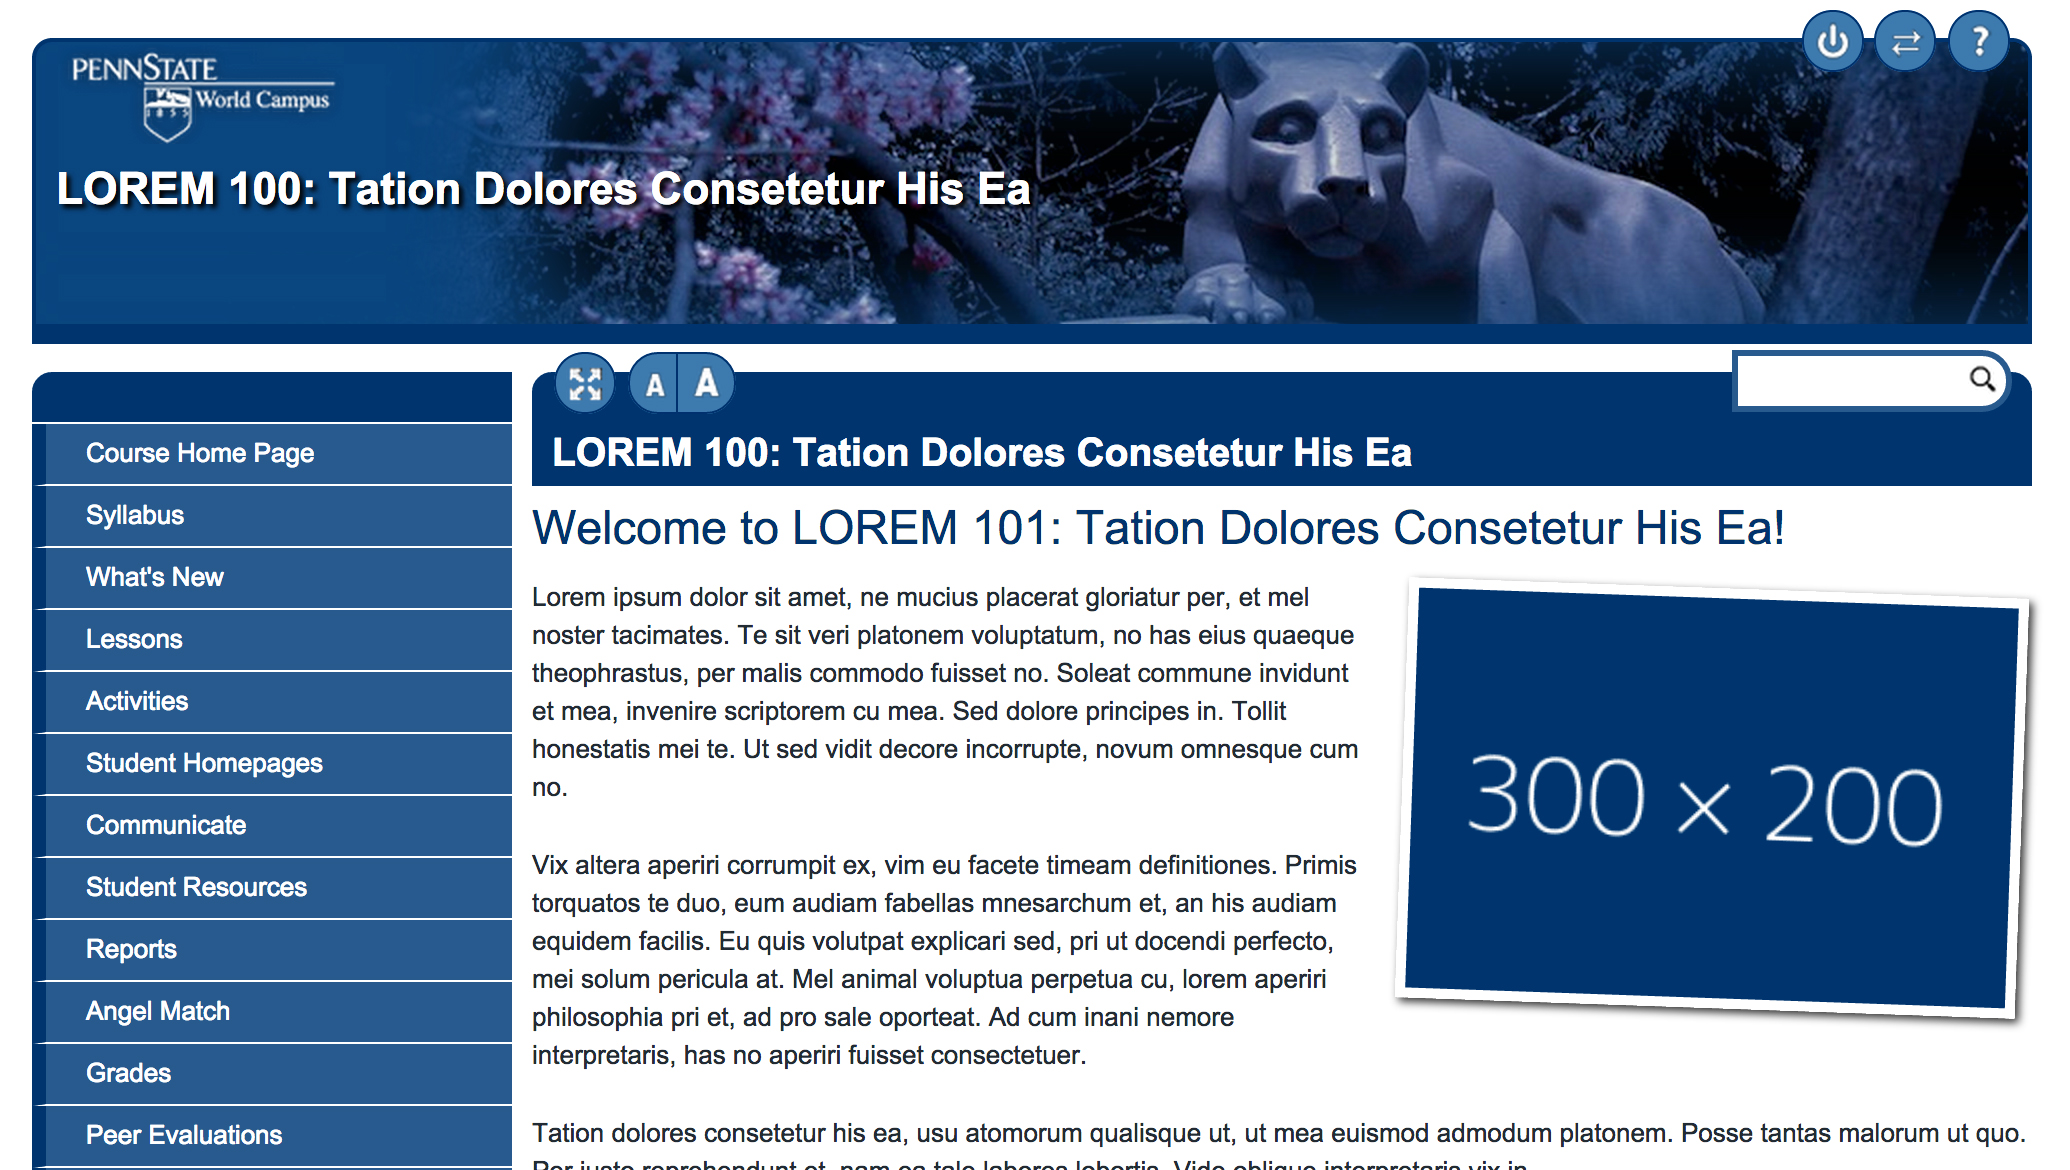
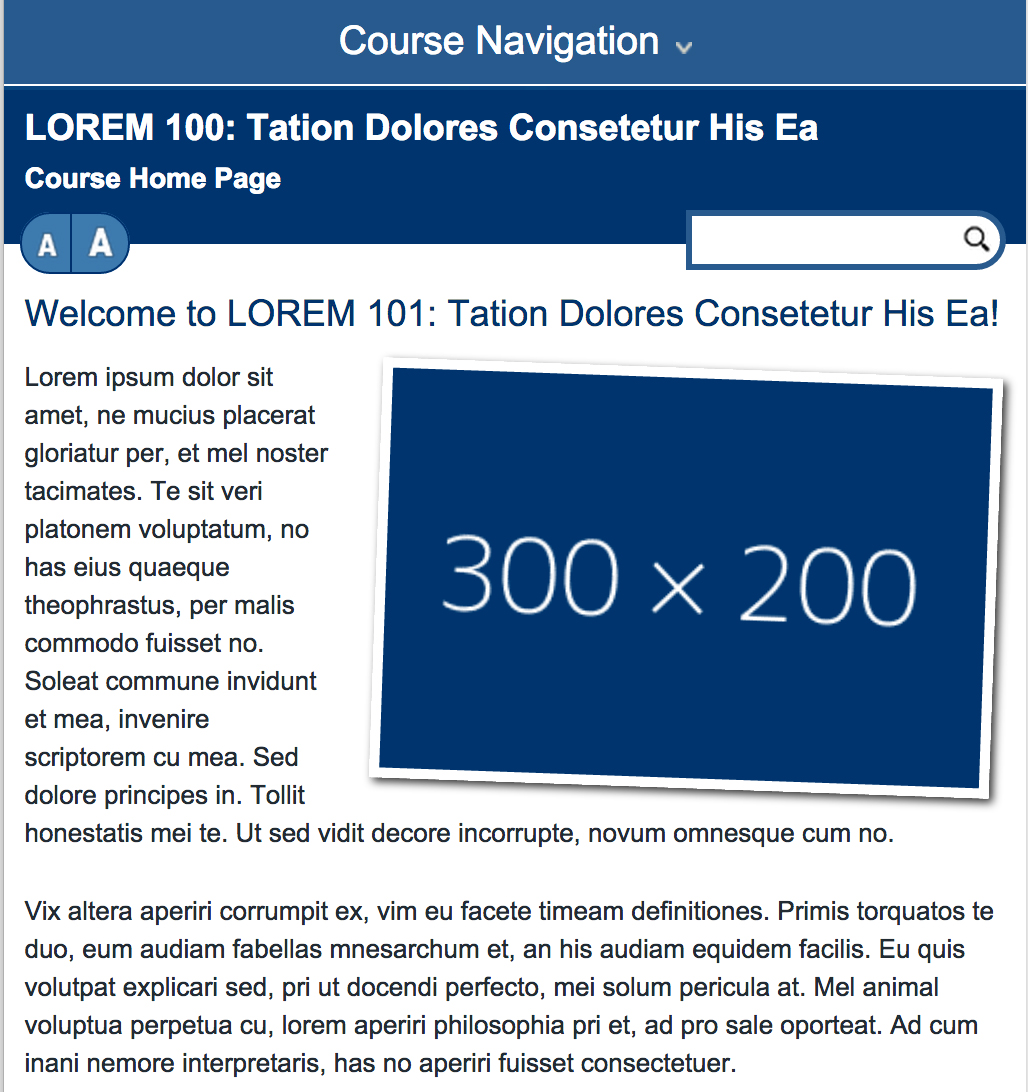
Figure 1: The home page, as viewed with a full-sized desktop windowas viewed with a smaller screen
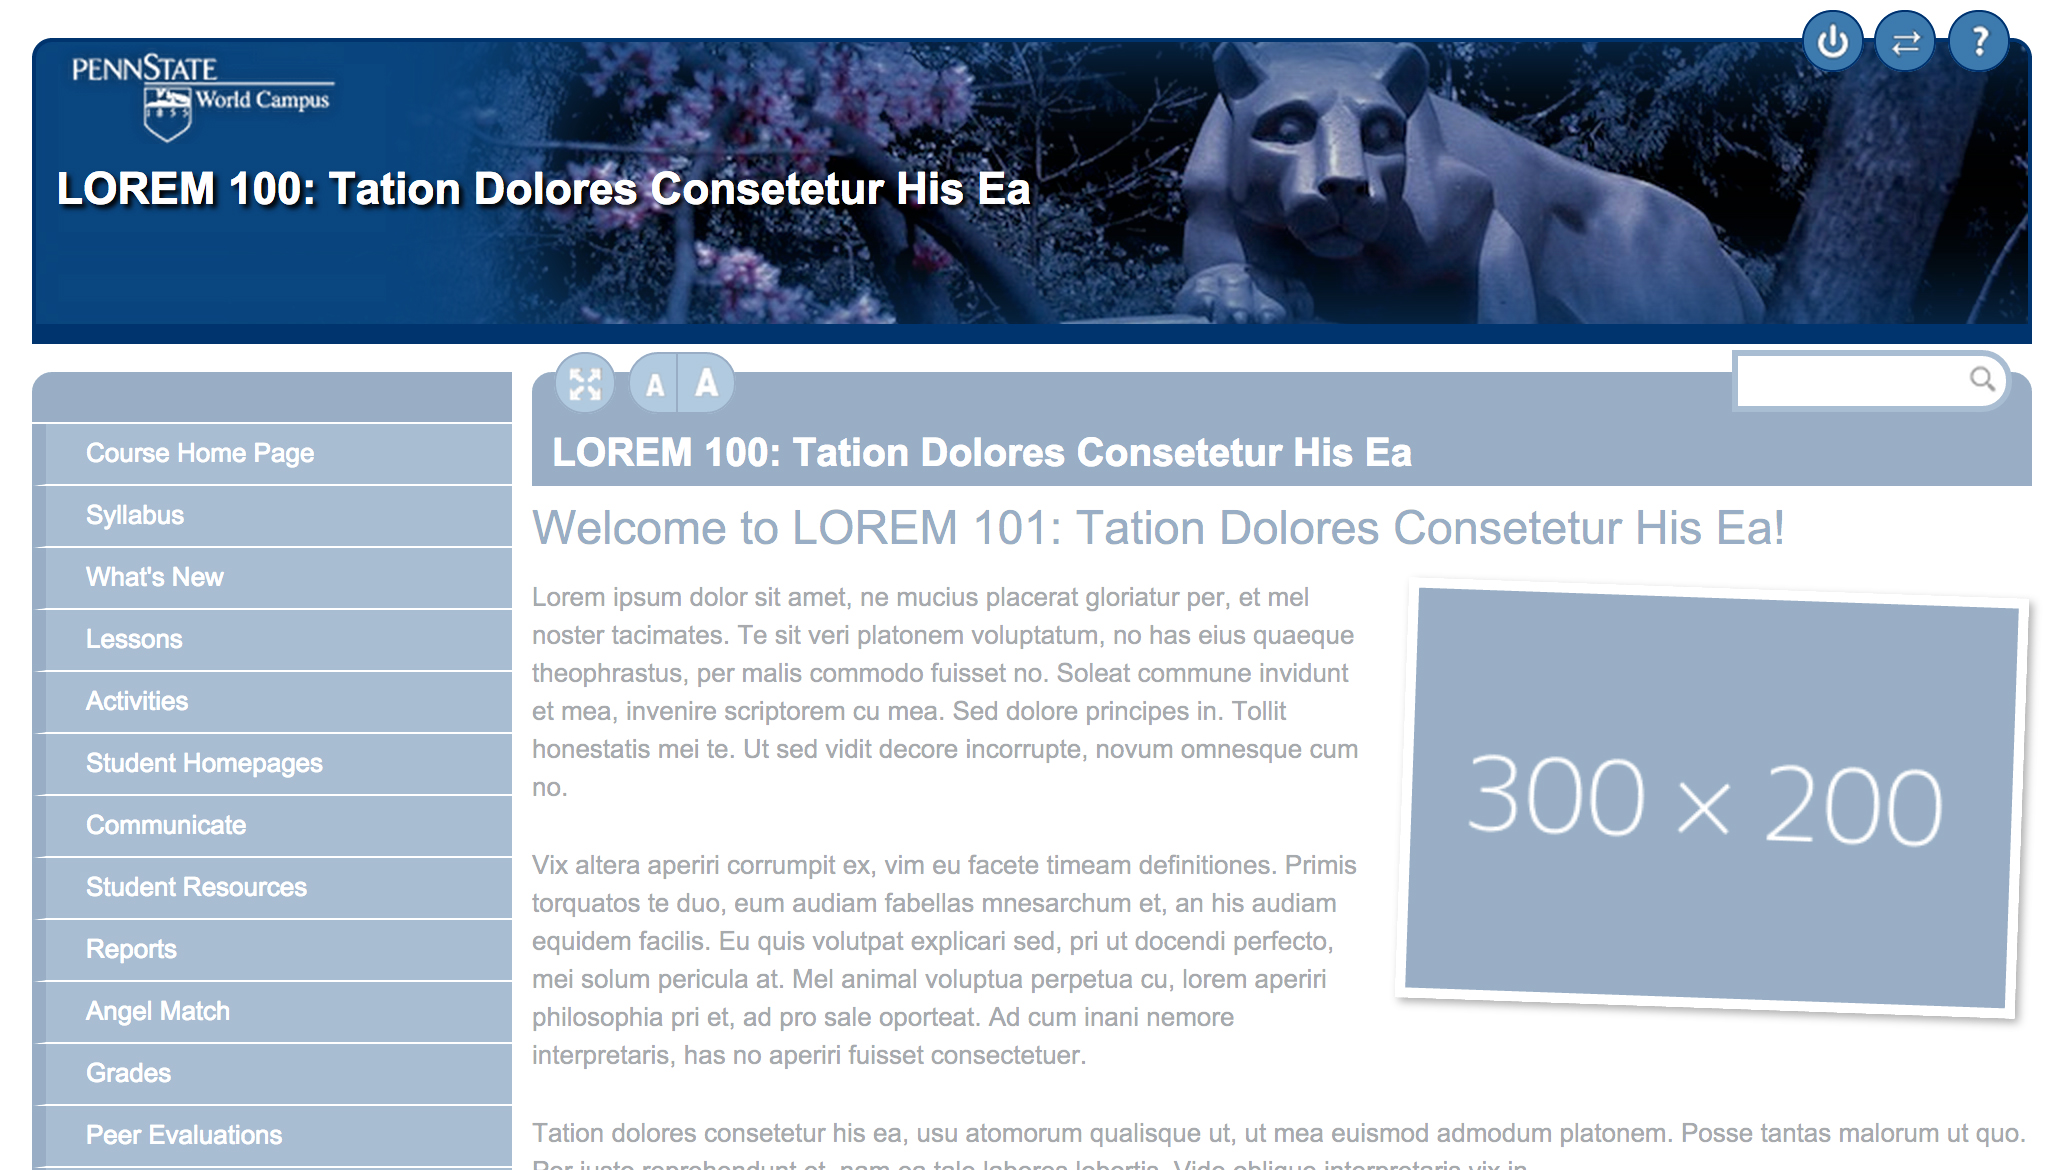
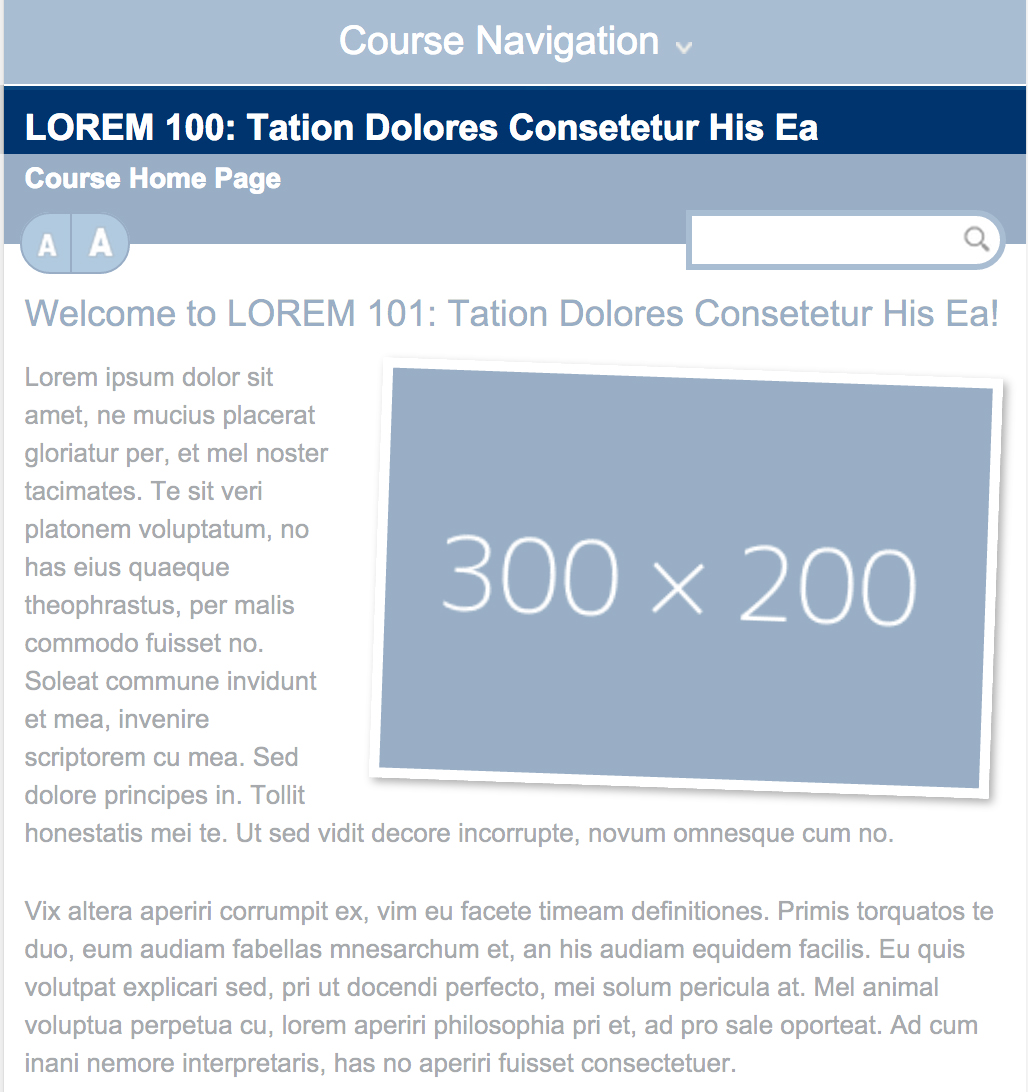
Figure 2: The header, as viewed with a full-sized desktop windowas viewed with a smaller screen
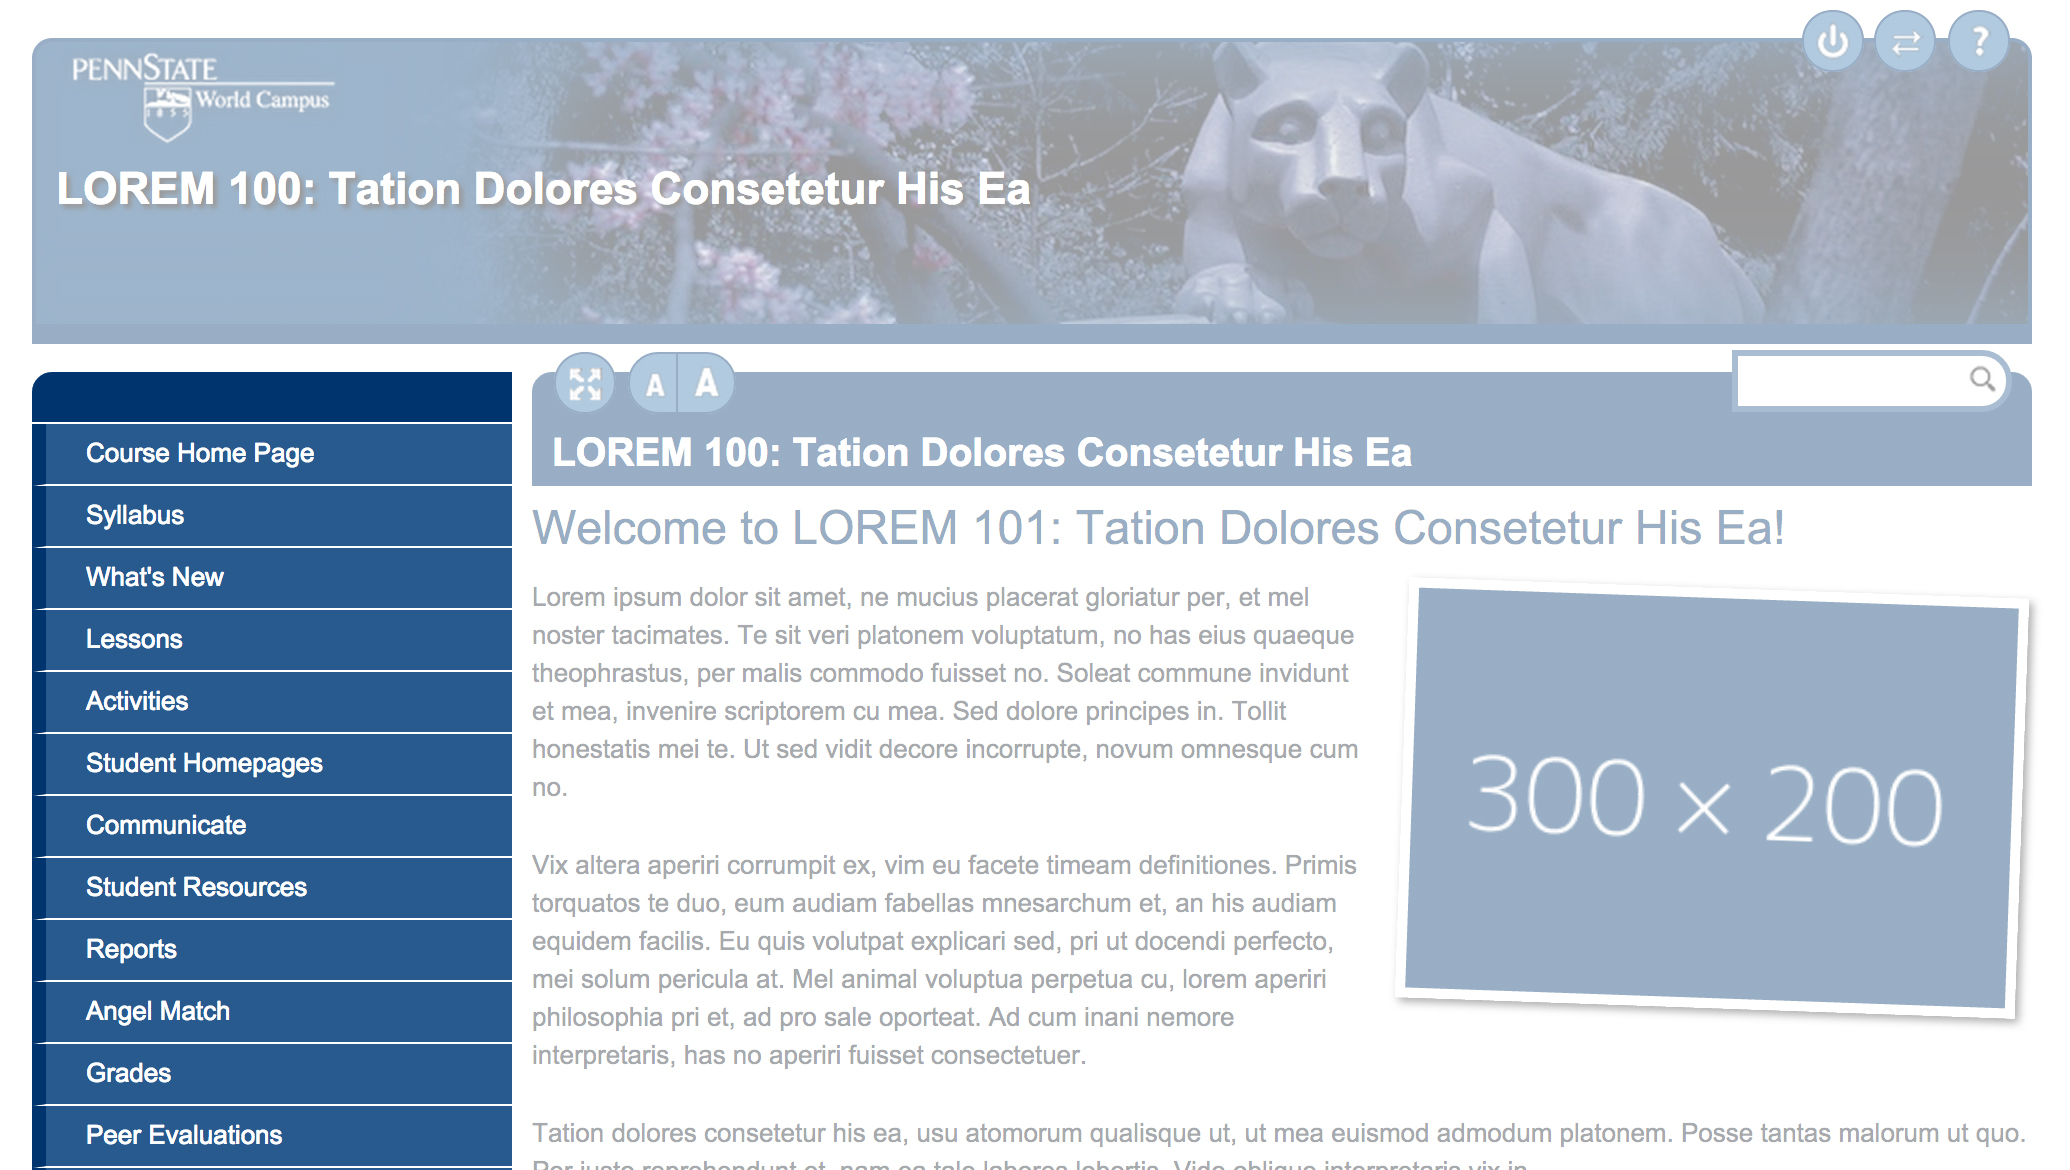
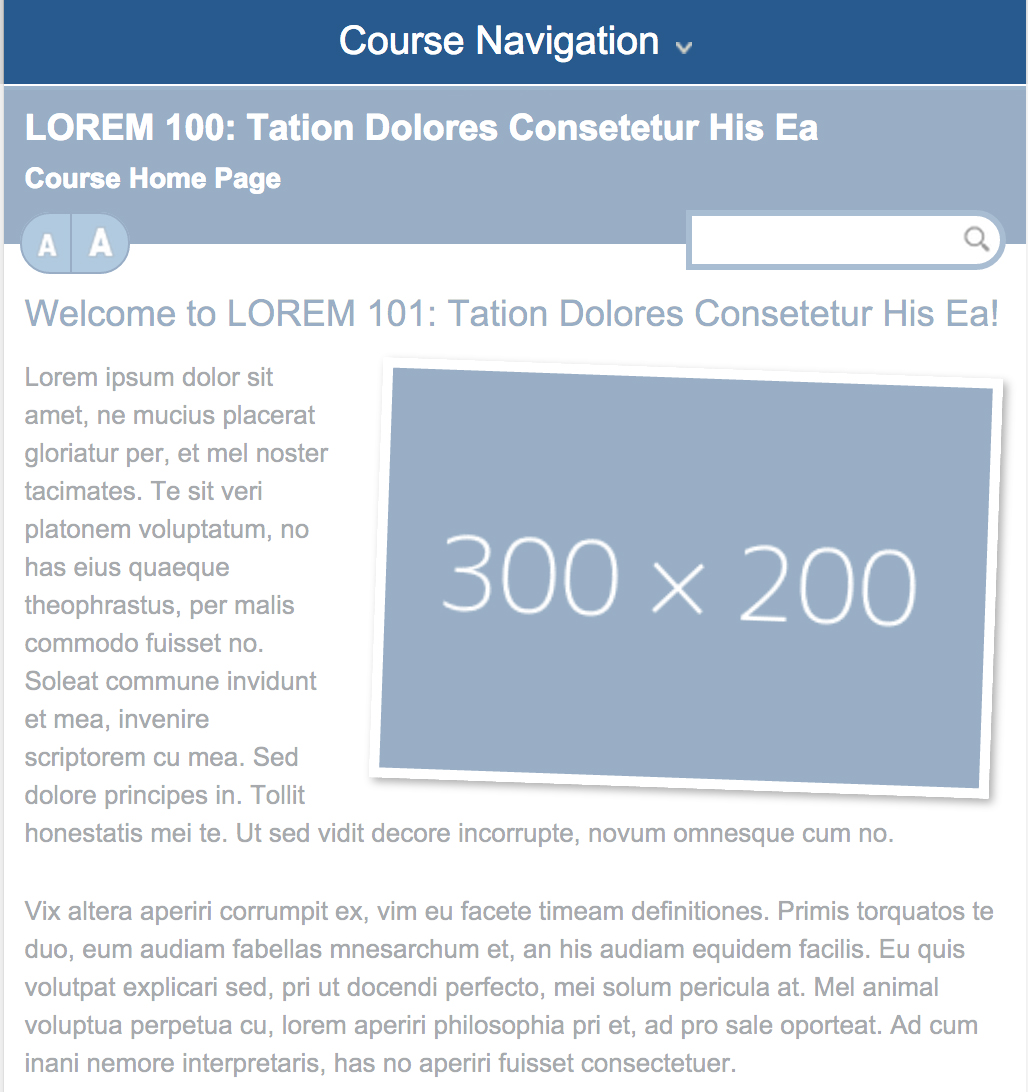
Figure 3: The main menu, as viewed with a full-sized desktop windowas viewed with a smaller screen
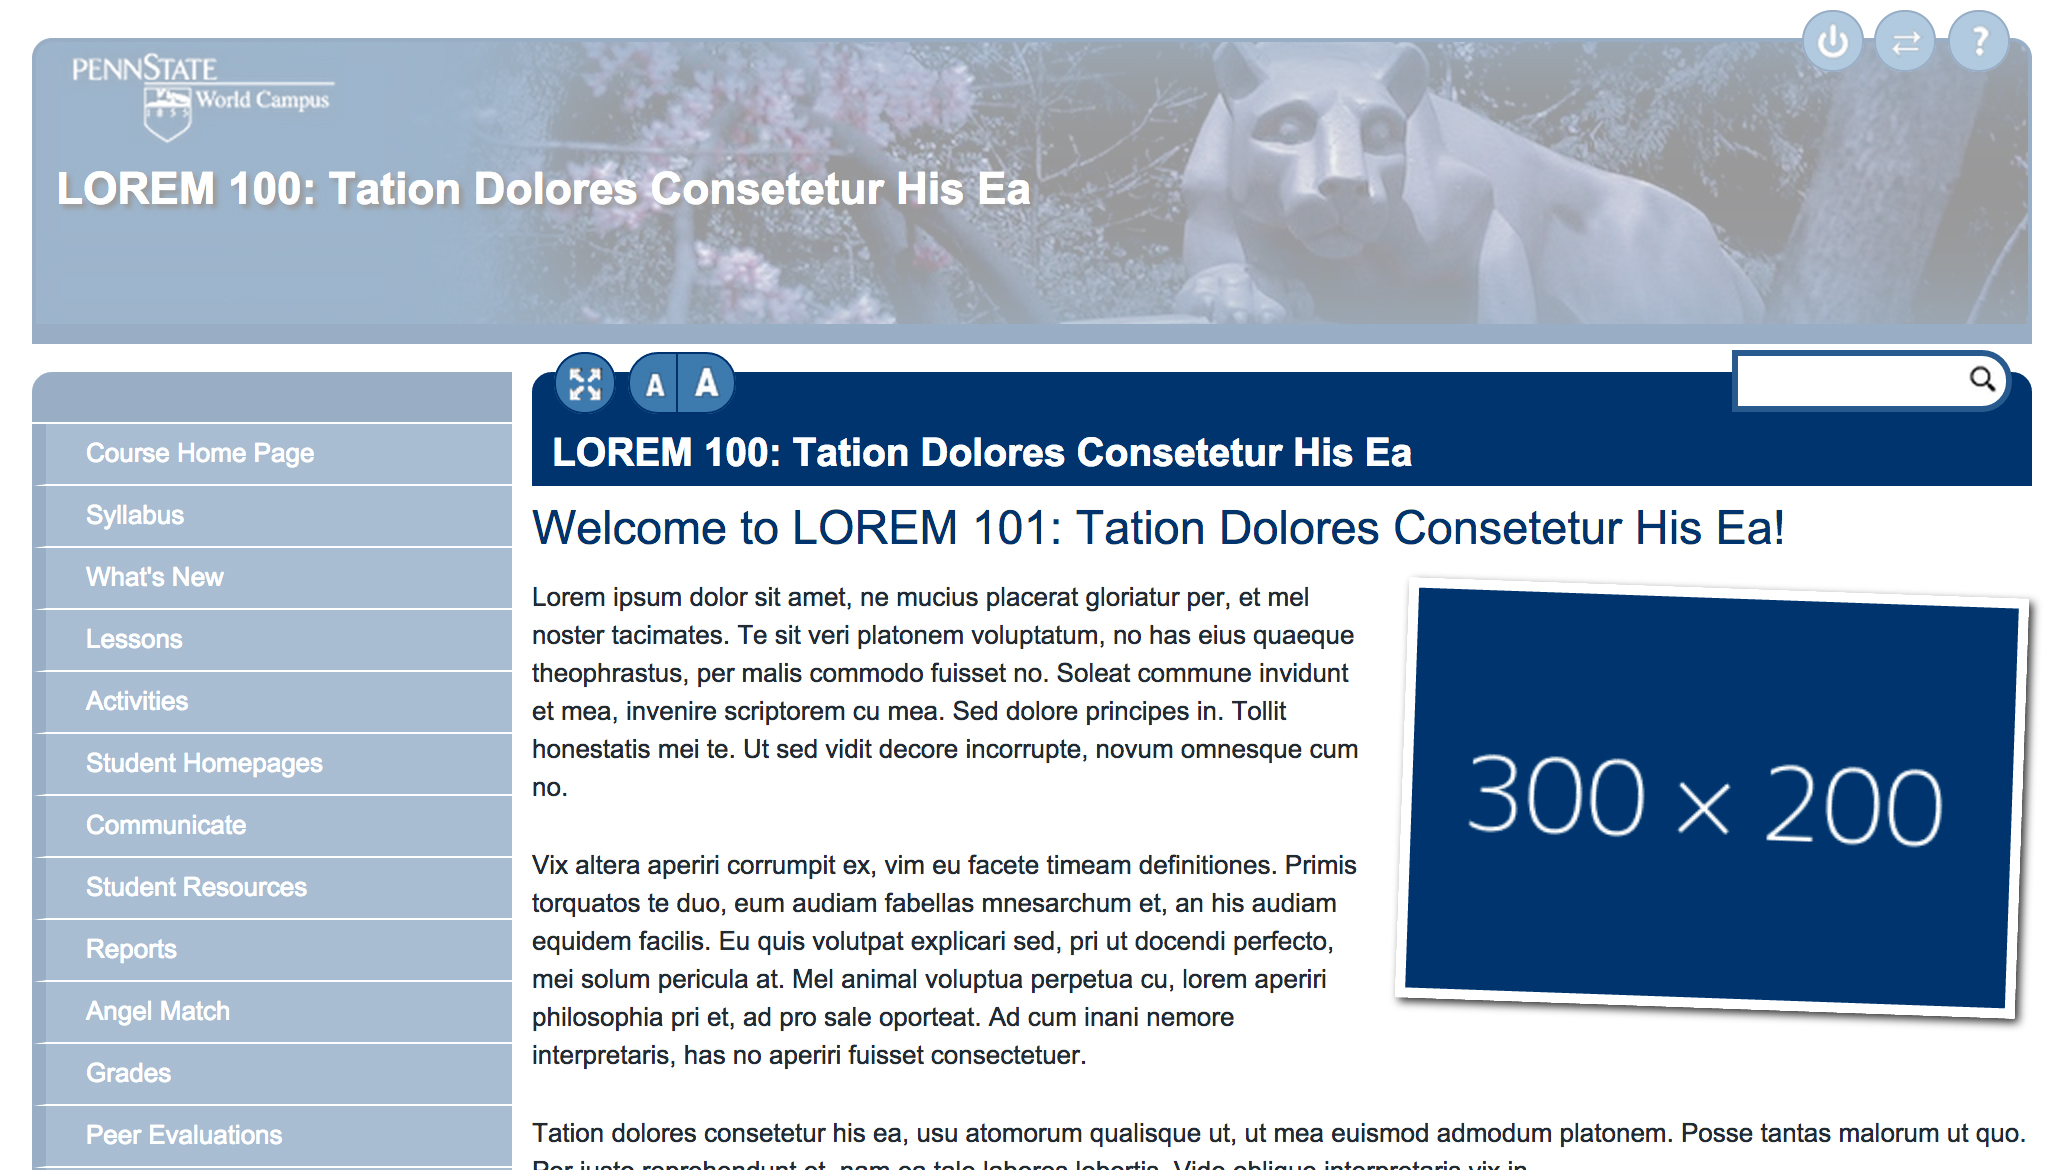
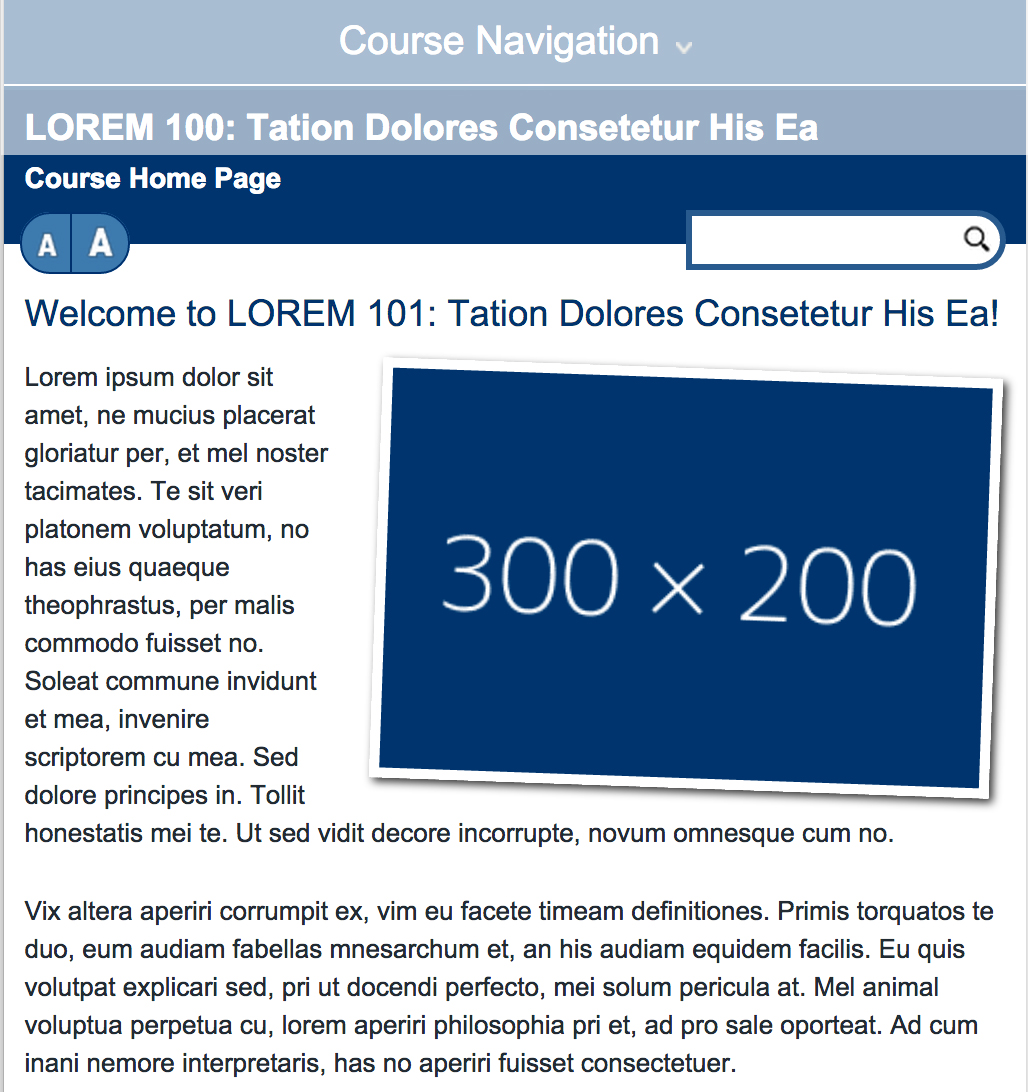
Figure 4: The content, as viewed with a full-sized desktop windowas viewed with a smaller screen
Header
The header area is located near the top of the page. It contains the course's name, which is also a link to the course's home page. If you are viewing your course in a full-sized desktop window, the header also includes the features listed in Table 1.
| Header Feature | Description |
|---|---|
| a link to log out of the course management system | |
| a link to switch courses within the course management system | |
| a link to go to the course's help page |
Main Menu
The main menu allows you to navigate to other parts of the course (Figure 6). From this menu, you will be able to access the home page, syllabus, lessons, activities, and more.

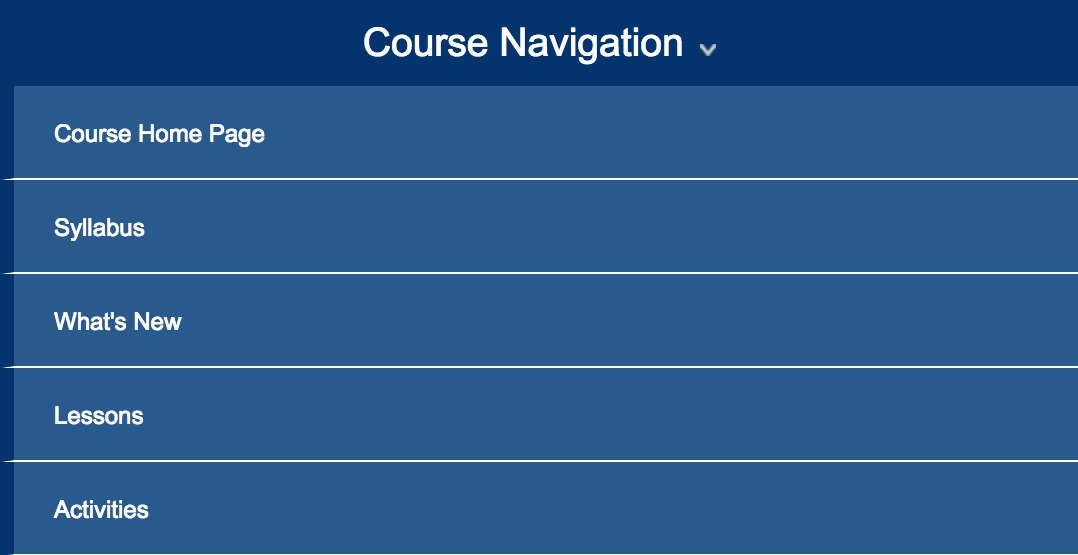
Figure 5: The main menu in detail, on the left side in a full-sized desktop window on smaller screens (To access the main menu on smaller screens, you must click to toggle the course navigation link at the top of the page.)
Content
The content area (Figure 6) follows the header area and displays the contents of the current page as well as page controls.
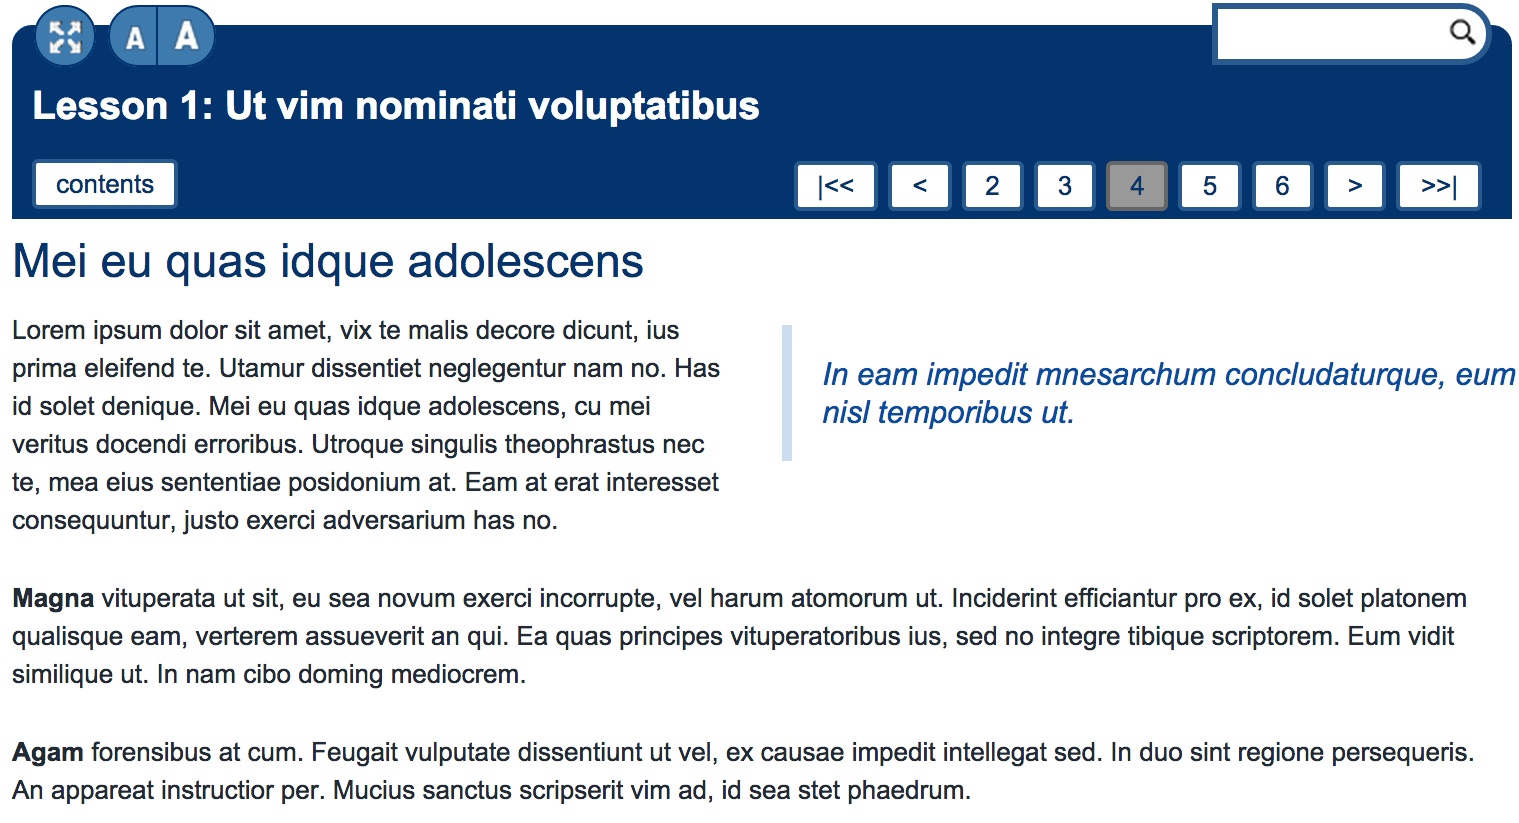
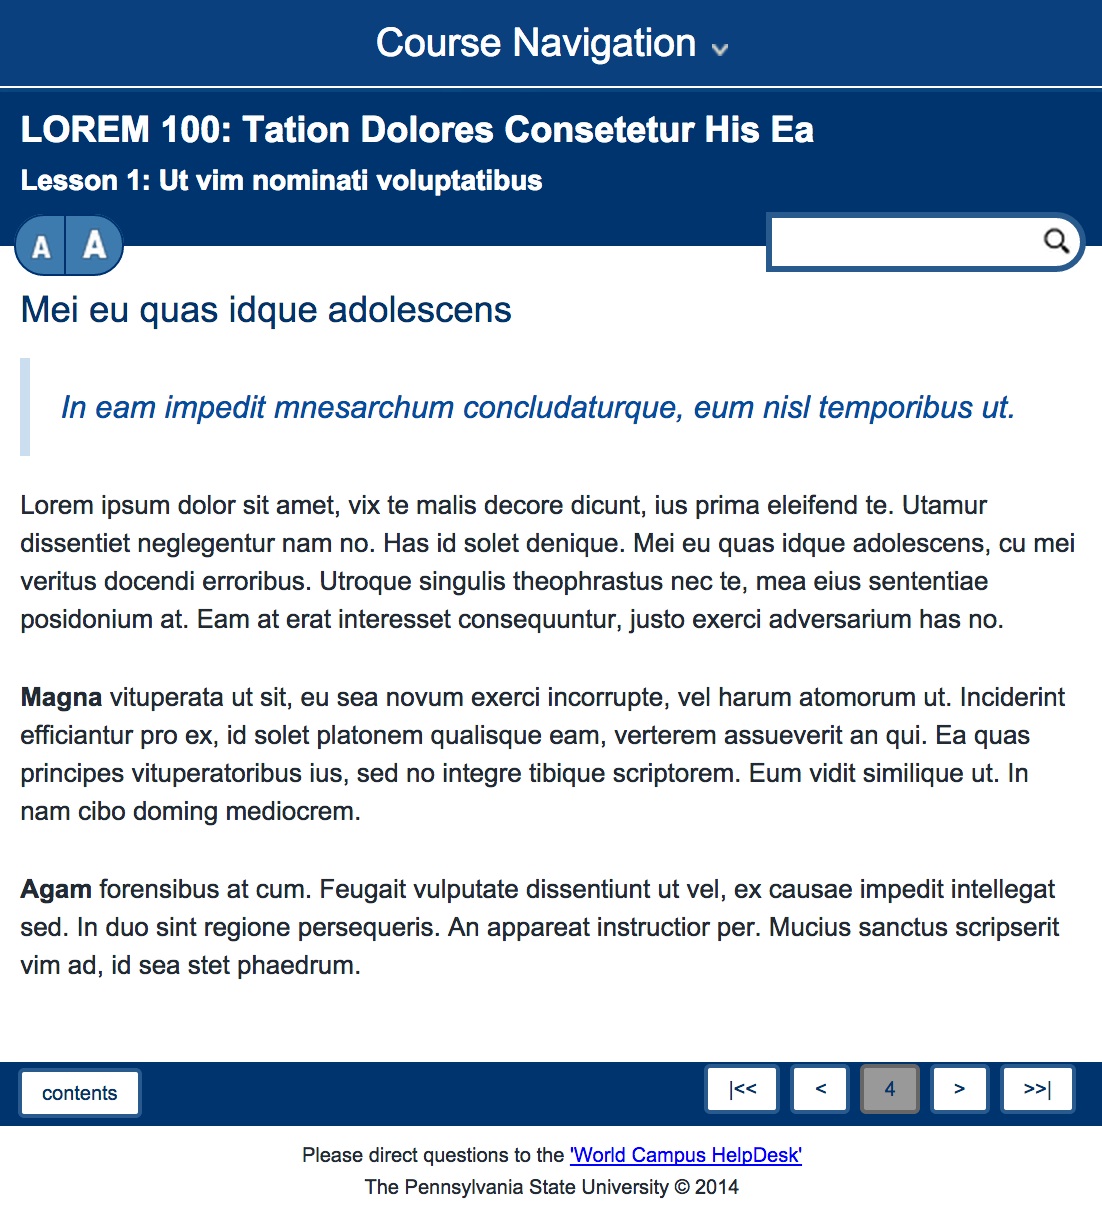
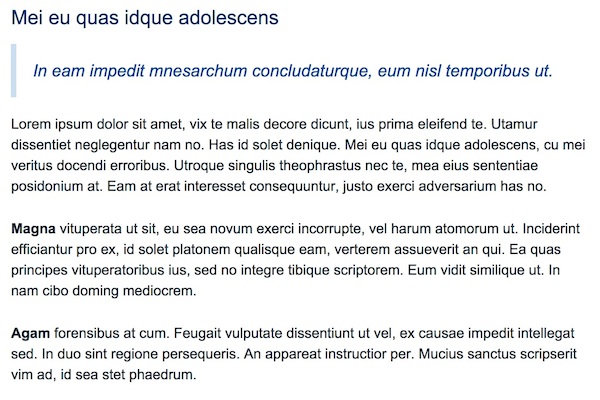
Figure 6: The content of a lesson page in detail, in a full-sized desktop window, on smaller screens
Page Controls
Page controls allow you to interact with page content. The page controls listed in Table 2 appear at the top of all page content.
| Content Feature | Description |
|---|---|
| a toggle link that resizes the main content area so that it does or does not fill the entire desktop window (Desktop feature only; this link does not appear on small screens.) | |

|
links that increase or decrease the font in the main content area |

|
a search form that allows you to search for lesson pages that contain your search text |
| a link that opens a lesson, page, or section of content into a printer-friendly window |
The page controls of Table 3 (below) appear on all lesson pages at the top of the content area. In larger desktop windows, they also appear at the bottom of the page content.
| Page Control | Description
|
|---|---|
| a link to the table of contents | |
| a link to the first page of the lesson (Desktop view or larger mobile sized screens only.) | |
| a link to the previous page of the lesson | |
| a link to a specific lesson page (Desktop view only.) | |
| an indicator for the current page | |
| a link to the next page of the lesson | |
| a link to the last page of the lesson (Desktop view or larger mobile sized screens only.) |
Home Page
The first page of your course is the home page. Your instructor may use the course's home page to provide a short welcome message (Figure 7) and post course announcements (Figure 8).
Figure 7: The home page in with welcome message, as viewed with a full-sized desktop windowas viewed with a smaller screen
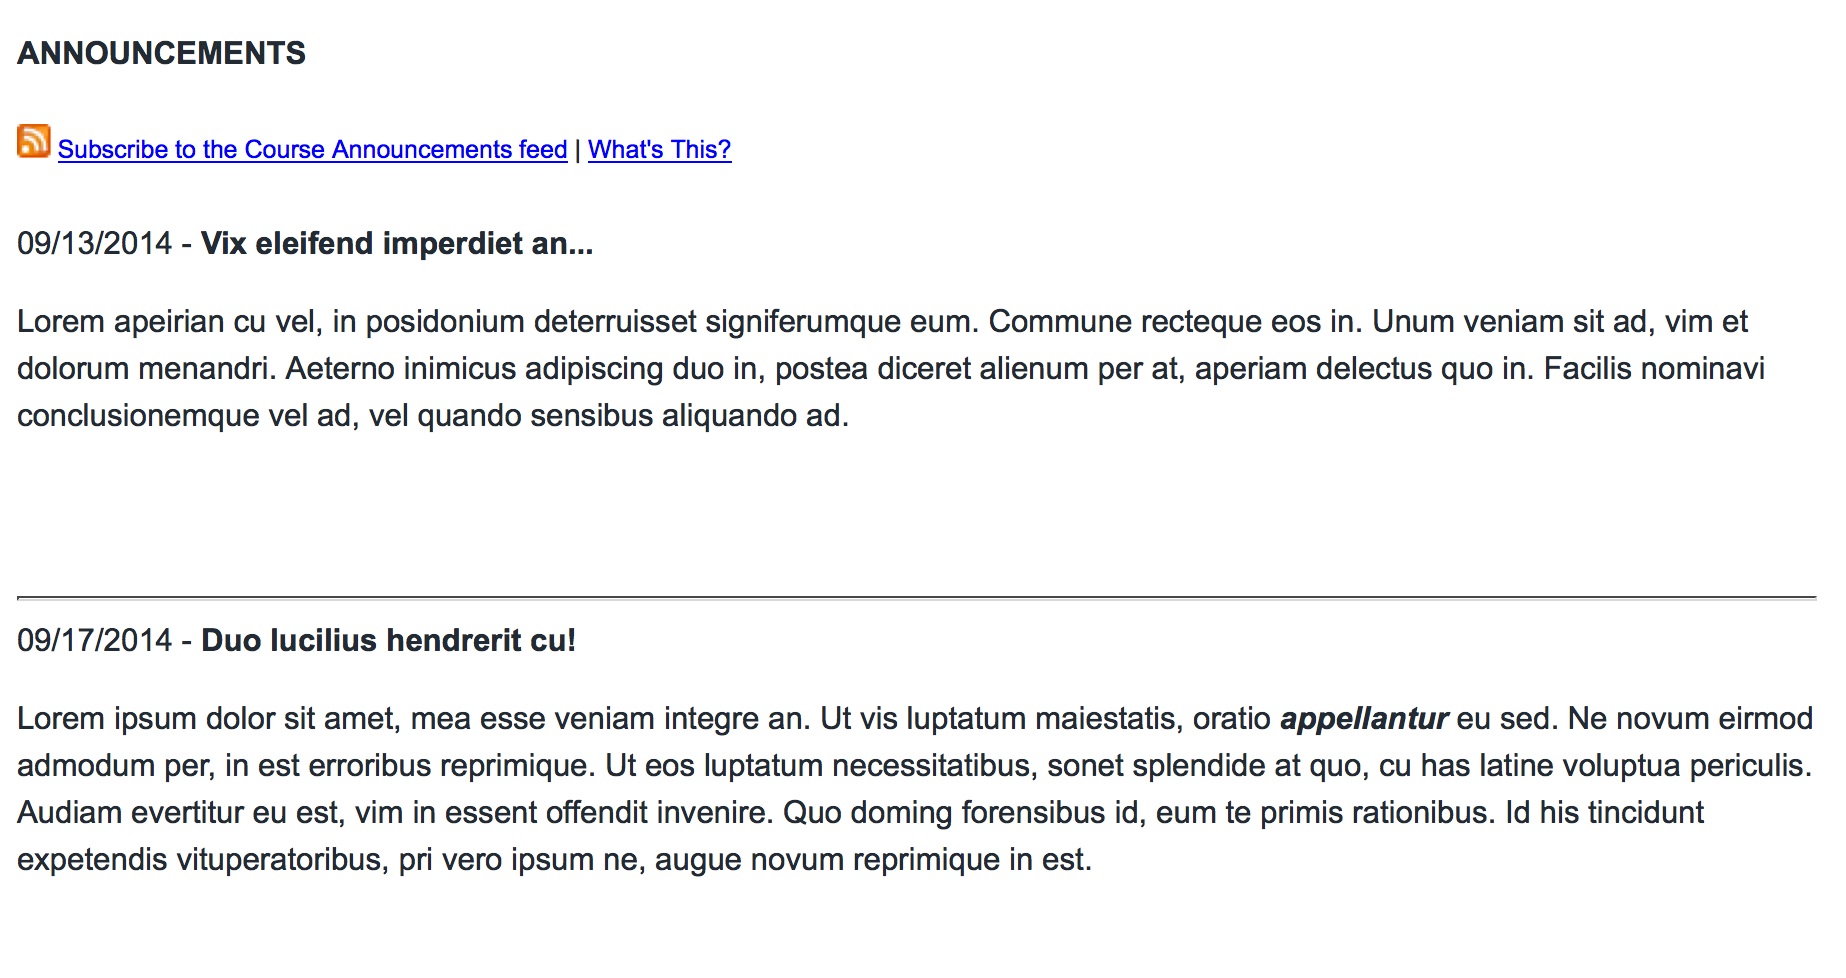
Figure 8: Announcements from the course home page, as viewed with a full-sized desktop windowas viewed with a smaller screen
Lessons Page
Lessons
To get to the lessons for your course, simply find the Main Menu and click on Lessons. The course table of contents will appear (Figure 9). Note: Lessons might also be called something else like Modules, Sessions, Units, or Weeks, depending on the course.
Table of Contents Page
The course table of contents page (Figure 9 is a list of lessons and pages in your course. It also features printer-friendly links ![]() that allow you to view and print all pages within a single lesson.
that allow you to view and print all pages within a single lesson.
To use the table of contents to go to a lesson page (Figure 10), simply click on the title of the page you wish to view.
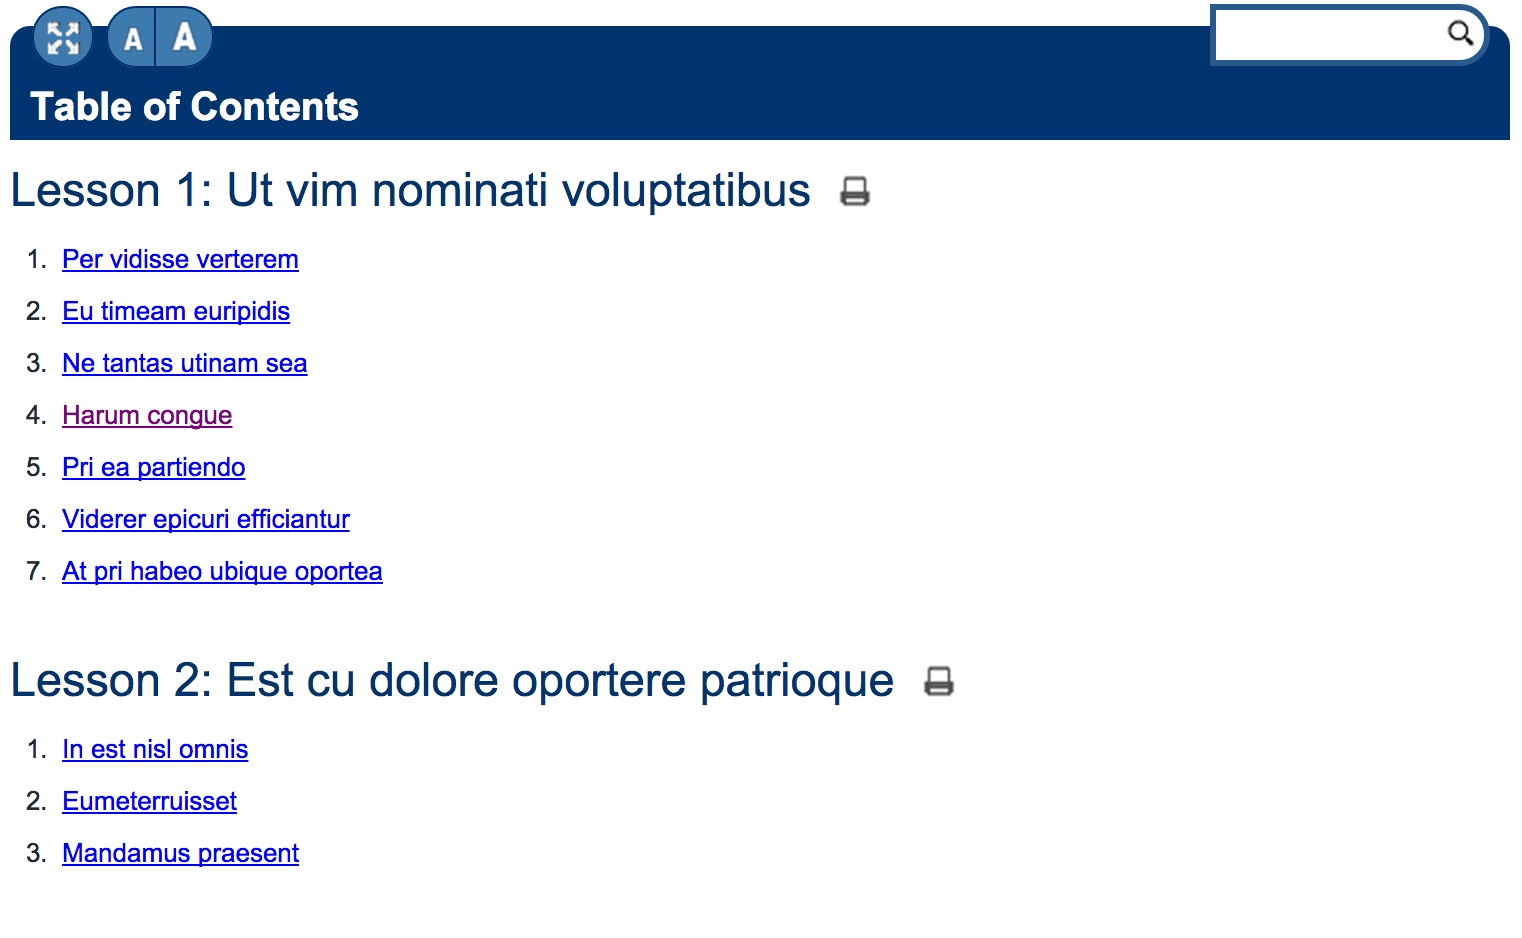
Figure 9: The Table of Contents, as viewed with a full-sized desktop windowas viewed with a smaller screen
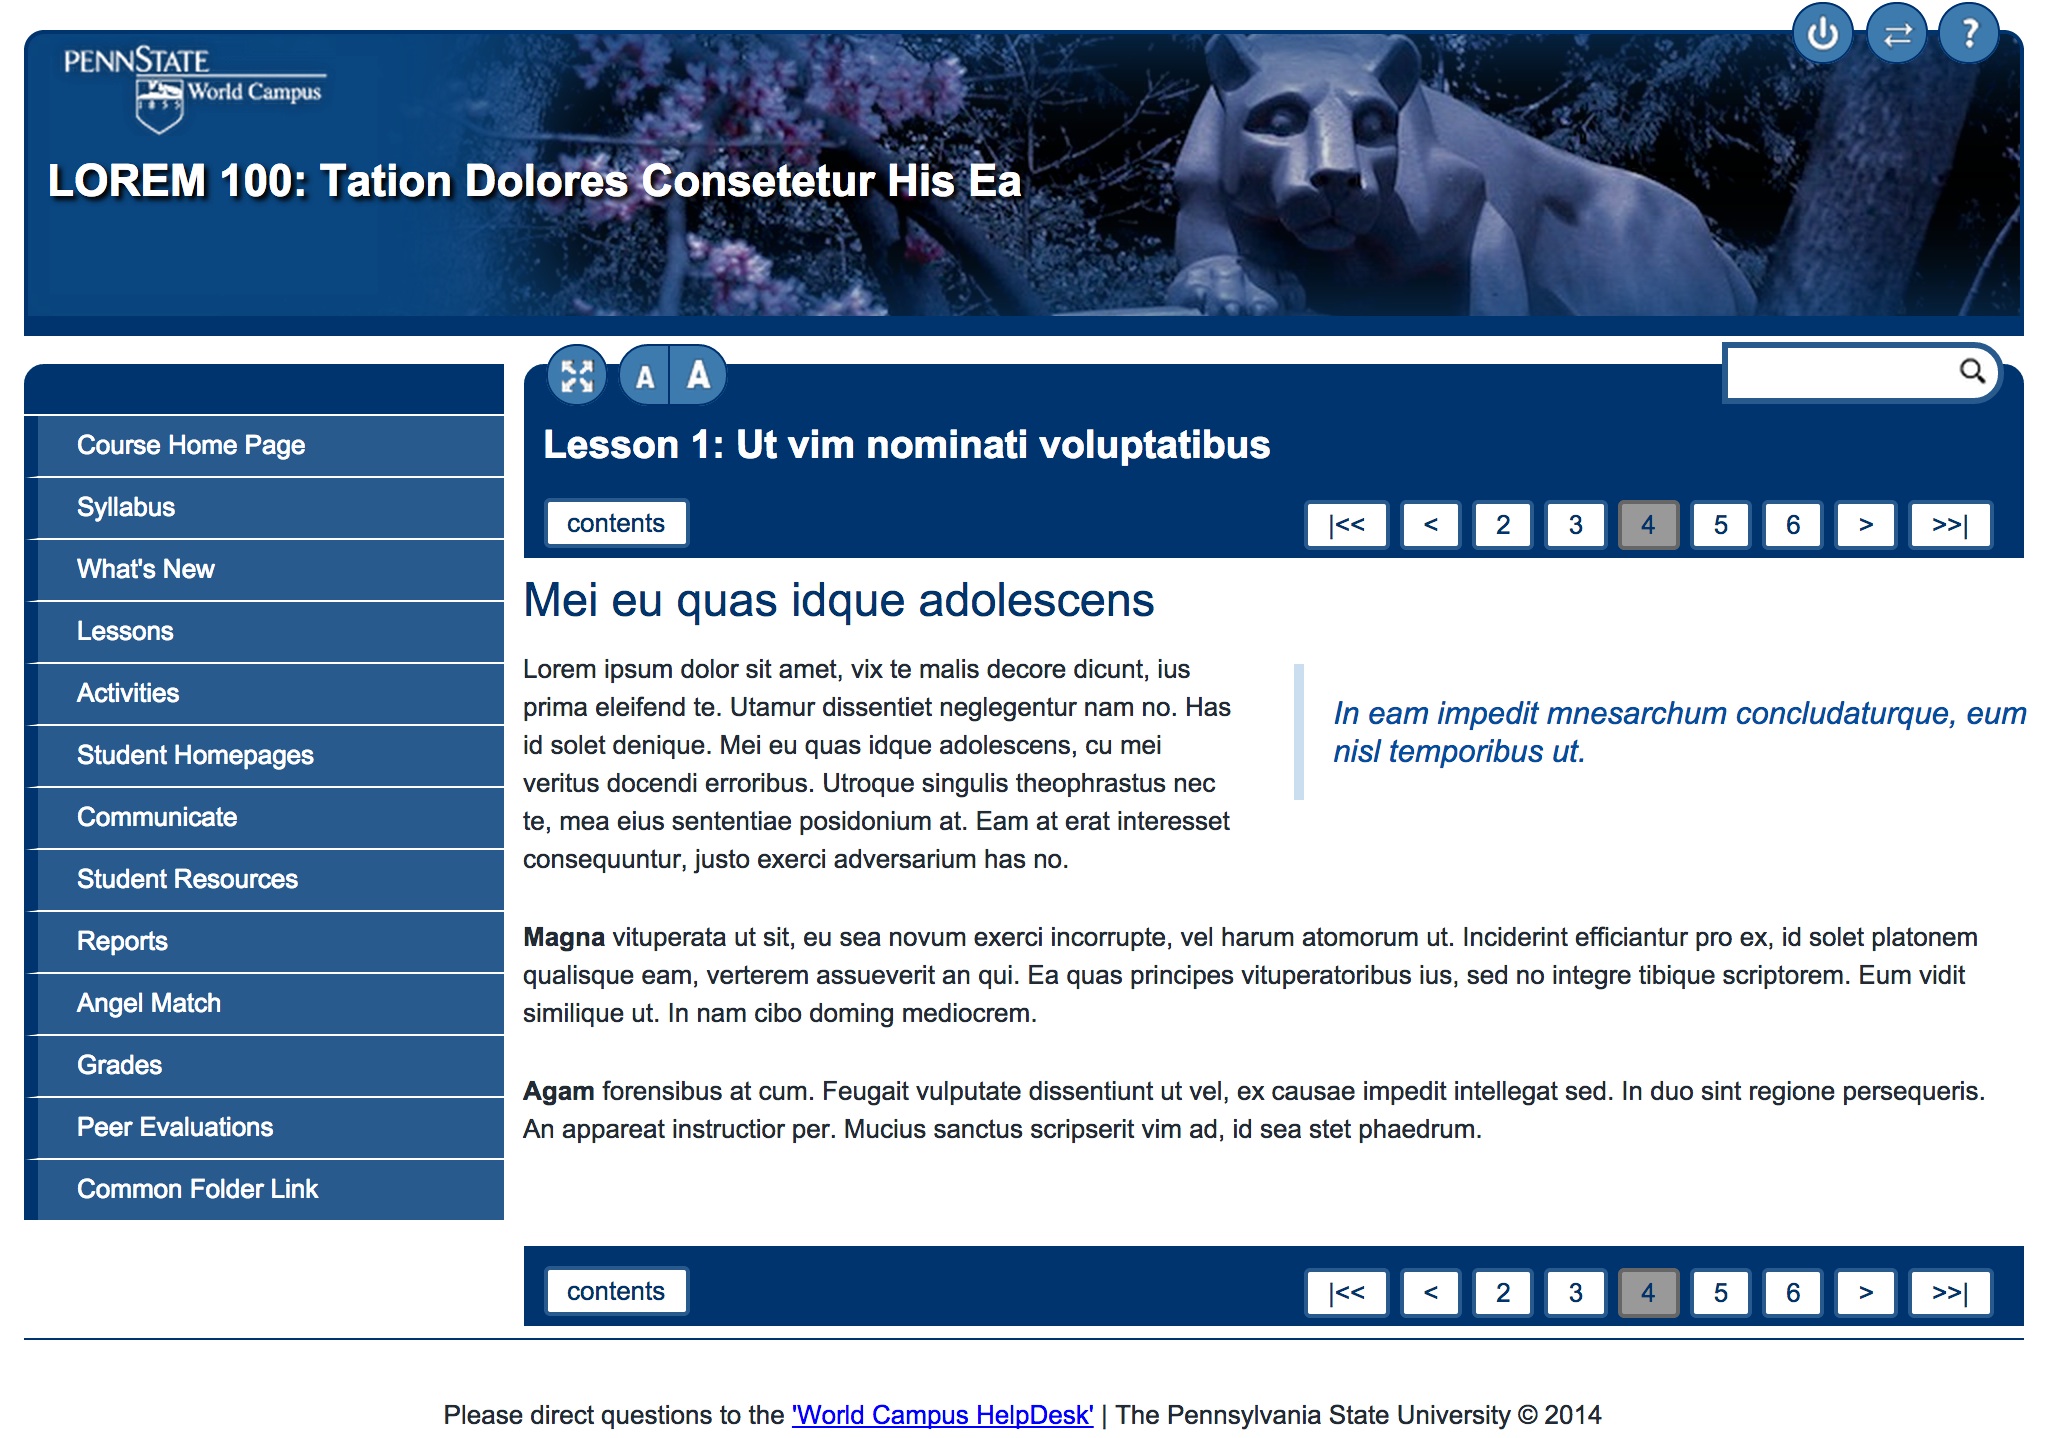

Figure 10: A lesson page, as viewed with a full-sized desktop windowas viewed with a smaller screen
Lesson Pages
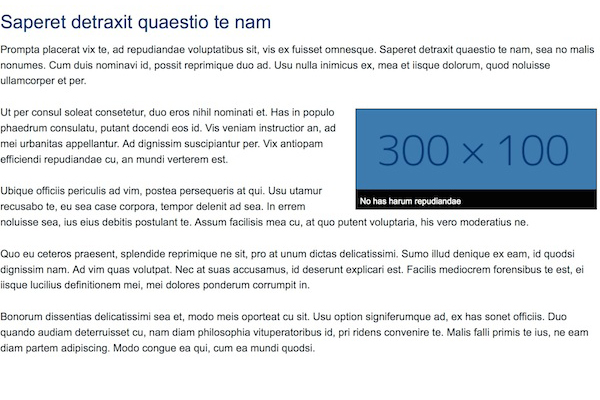
A lesson page (Figures 11-14) may include content such as:
Angel - Activities Page
The Activities link in the left menu is very important, as it contains most of the ANGEL items that you'll need to complete and submit assignments. In the example below, you can see that there is a discussion forum and three weekly activities folders.
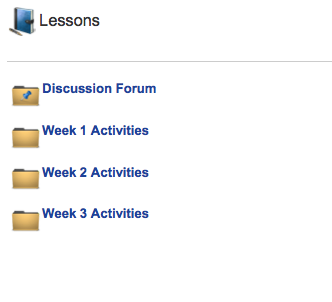
If you click on a weekly folder such as Week 1 Activities, you'll see the ANGEL items (as shown below).
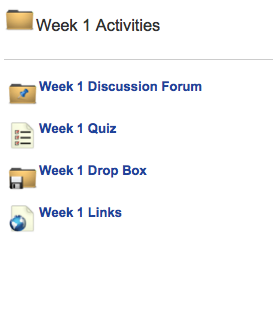
The table below explains the ANGEL icons used in this course.
| Icon | Explanation |
|---|---|
|
Discussion Forums are places in ANGEL where you can hold an online discussion with your instructor and/or classmates. |
Drop Box |
The drop box is a place in ANGEL where you can submit files such as Word documents and spreadsheets for your instructor to review and/or grade. Once a file has been submitted, you cannot edit or retrieve it. |
File |
Files contain links to a downloadable file that may be viewed or saved on your computer. |
Link |
Items designated by this icon contain a link to elsewhere in the course, or to an external website your instructor may want you to view. |
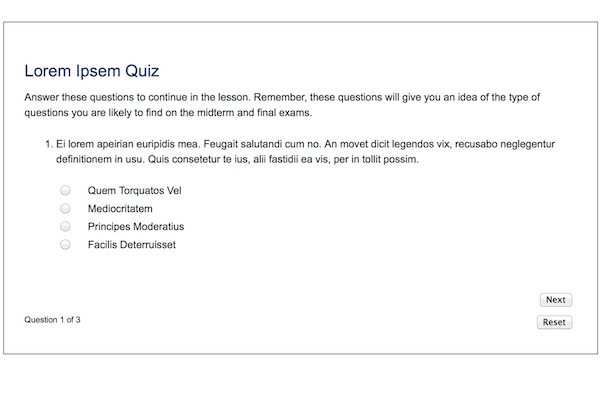
Quiz |
Taking an online quiz is very similar to taking a quiz in class. You answer questions and when you are finished, submit the quiz for grading. Quizzes may be automatically graded, in which case you'll receive immediate feedback, or they may be graded by the instructor at a later time. Some quizzes may contain essay questions; if so, we recommend that you prepare your answer in a word processing program first and cut and paste that answer into ANGEL. |
Survey |
Surveys in ANGEL are very similar to the Quiz function, but are designed to provide feedback to the instructor about certain topics. This feedback my come in the form of essays, checkboxes, or checklists. |
You may see other icons on the Activities page but the most common are shown in this table. The individual tools used in your course may vary. Some courses may not include all of the tools mentioned above. Remember, most of what you will do in the course will be accessed through the Activities link. It is to your advantage to spend some time getting familiar with all of the links.
Please note that due to the design of your course, you may not see an Activities link on your left menu. However, any activities that are required in your course will be linked through the left menu or through your lesson content pages.
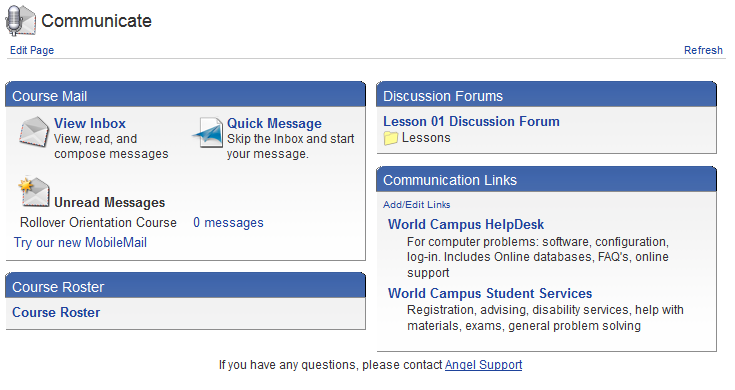
Angel - Communicate Page
The Communicate link accesses the ANGEL e-mail tool, which lets you send and receive course e-mail. You can also find information for any software resources you may need to download for your course. Another feature is the course roster where you can view a list of people in the course.
You can also find information for getting in touch with the World Campus Help Desk and World Campus Student Services.
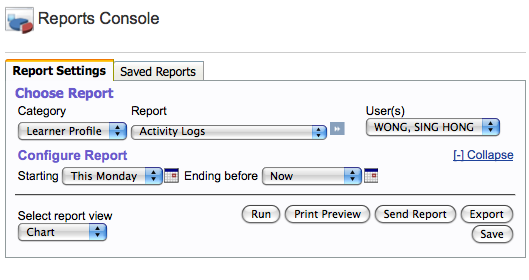
Angel - Reports Page
The Reports link connects to reports that help you follow your progress in the course, and see your grades. The image below shows the top-level menu for the Report tab.
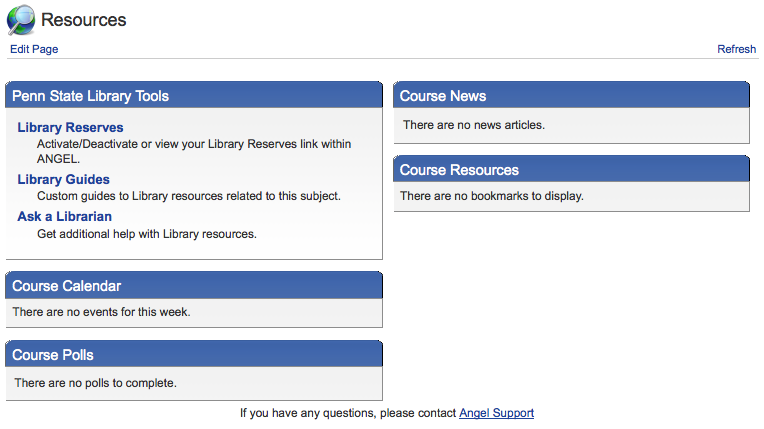
Angel - Resources Page
Under the Resources link you can view the course calendar, and access Library Reserves. (Check your Syllabus or course content to see if your instructor will be using any reserve readings.) See figure below.
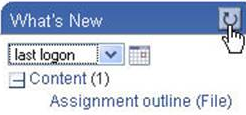
Angel - What's New Page
The What's New link lists any items within the course content that may be new. These items can be filtered by last logon, last week, last 2 weeks, or last 30 days using the pulldown list. To check for new items, click on the refresh button.
HelpDesk Information
If you have any technical difficulties using the tools within this course, or questions about how to use ANGEL, please contact the HelpDesk.
HelpDesk Technical Support (http://student.worldcampus.psu.edu/technical-support)
Hours of Operation
- Monday through Friday — 8:00 a.m. until midnight (Eastern Time)
- Saturday — 10:00 a.m. until 7:00 p.m. (Eastern Time)
- Sunday — 10:00 a.m. until midnight (Eastern Time)
Phone
- 1-800-252-3592, option 4 (toll free within the United States)
- 1-814-865-0047 (local and international calls)
Technology Intro
Introduction to Blackboard Collaborate
Blackboard Collaborate is a collaborative tool that allows you to communicate synchronously (real-time) with your instructor and classmates. The software package contains many features such as real-time voice, video, document sharing, and whiteboard sharing. It is also possible to record Blackboard Collaborate sessions for viewing at a later time.
There are three things you need before you start using Blackboard Collaborate.
- Check your system against the Blackboard Collaborate requirements. You may need to install or update Java, and if so, a link will be provided.
- You will need a microphone attached or built in to your computer for real-time voice.
- You will need a headset plugged into your computer to eliminate audio static and feedback. Or, just use a combination headset with headphones and a microphone.
If you need to know more about its functions, Blackboard Collaborate offers a Participant's Guide, Moderator's Guide, and other Documentation and Recording Training on their website. The Online Orientation contains information such as testing your audio setup and step-by-step "how-to" information.
Note: Please make sure you are using one of the recommended operating systems and browsers. You can find a full list of supported systems at Blackboard Recommended Systems or contact the HelpDesk for assistance.
YouSeeU
YouSeeU Instructions
- Go to the YouSeeU Login Page. (Note: You can also access the class with the YouSeeU link via the Activities link in the menu).
- Click Launch on the pop-up window with the "You are now being directed to the YouSeeU site..." message to proceed into YouSeeU. If you do not see a pop-up window, please turn pop-up blockers off or add "cms.psu.edu" as an exception in the web browser preferences.
- Once you are in the course in YouSeeU, use these instructions to complete your profile.
- Click on the assignment.
- Review the Assignment Overview/Introduction Video.
- Click the Do It Now button.
- Read and review the activity instructions and either select a video to upload or record a video by clicking on the Select/Record Video button.
How to Upload a Video
- Click the Select Video button.
- Click Select File and navigate to the file. Verify it is the right file, select it, and click Open. (Note: You can only upload one file per assignment. Therefore, if you record multiple files for your assignment, you will need to use another program, such as Windows Movie Maker or iMovie, to combine your files into one for the video assignments.
- Click Begin Upload. Your video will begin to upload, and a progress screen will appear.
(Note: If you realize you are uploading the wrong file, use the Cancel button to stop the upload. If your video file is too large to be uploaded, please reference the reducing the file size of your video instructions.) - You will see will your video status as "processing" while it is being encoded. A progress bar and the "Time Left" indicator will show you how long it will take to complete the upload. (Note: It is important that you do not close your Internet browser. If you do so, your upload will fail.)
- When the file is uploaded, a "File uploaded" message will appear. At that time, you can close your browser if you wish. We will send you an e-mail when your video is ready for viewing. (Note: You have 48 hours after your video is encoded to delete the video. After this time you must contact the HelpDesk if you wish to delete a video.)
- Click OK after your video has been uploaded.
- Once your video is encoded/processed, you can sync slides to it.
- Navigate to the desired video.
- Click on the Add Slides button.
- Use the white arrow to start playing your video to add your first slide.
- Click on the Add Slide button.
- Browse to the image/slide you want to upload. Click Open.
(Note: If you have created a PowerPoint presentation, please choose "Save as pictures..." or "Save as..." and choose the JPEG format.) - Click on the Add Slide button when you are ready to add another slide.
- Repeat Steps c–f to add the slides to the rest of your video.
- Click the Save button.
- Click the Finish Slides button.
- To review the finished product, click on the Open button under the Interact column.
- Use the Open button under the Interact column to view your peers' videos, and click on the Summary Report to review feedback from your instructor.
How to Record a Video
- Click the Record Video button.
- Click Allow for the Adobe Flash Player Settings.
- Click the red circle (record) button in the middle of the video screen, or use the small red record circle at the lower left-hand side to begin recording.
- When complete, click the stop button.
- Click Yes to review your video before submitting.
- If you click Yes, the video will automatically play. Click No to submit your video or to rerecord it.
- After reviewing your video, click the Play, Record Again, or Submit button.
- Click Yes to the video submission.
- You will see your video status as "processing" while it is being encoded. You will receive an e-mail when your video has been encoded and is ready for viewing. (Note: You have 48 hours after your video is encoded to delete the video. After this time you must contact the HelpDesk if you wish to delete a video.)
- After your video is encoded/processed, you can sync slides to it.
- Navigate to the desired video.
- Click the Add Slides button.
- Use the white arrow to start playing your video to add your first slide.
- Click on the Add Slide button.
- Browse to the image/slide you want to upload. Click Open.
(Note: If you have created a PowerPoint presentation, please choose "Save as pictures..." or "Save as..." and choose the JPEG format.) - Click on the Add Slide button when you are ready to add another slide.
- Repeat Steps c–f to add the slides to the rest of your video.
- Click the Save button.
- Click the Finish Slides button.
- To review the finished product, click on the Open button under the Interact column.
- Use the Open button under the Interact column to view your peers' videos, and click on the Summary Report to review feedback from your instructor.
Yammer
Yammer is a place for class communications with the instructor - both directed and spontaneous. You can use this space to communicate your fellow students and instructors. Your HIED Yammer courses have private networks. Therefore, only students officially registered in the course will have access to the conversation. In order to participate in the Yammer Class Conversation, you'll need to signin with your PSU user ID and password. Click here to learn more about Accessing Yammer at Penn State. Additionally, you can access Yammer on your mobile device.
Check out the Yammer New User Guide to learn more.
Sites At Penn State
Sites At Penn State allows anyone with a Penn State access ID to create their own blog or website using powerful Wordpress tools. All you need to sign up is your userid and password.
For details about how signing up and creating your site works, please visit their Support Page. The documentation page provides valuable information such as signing up and creating your first site, customizing the appearance of your pages, and which plugins to install.